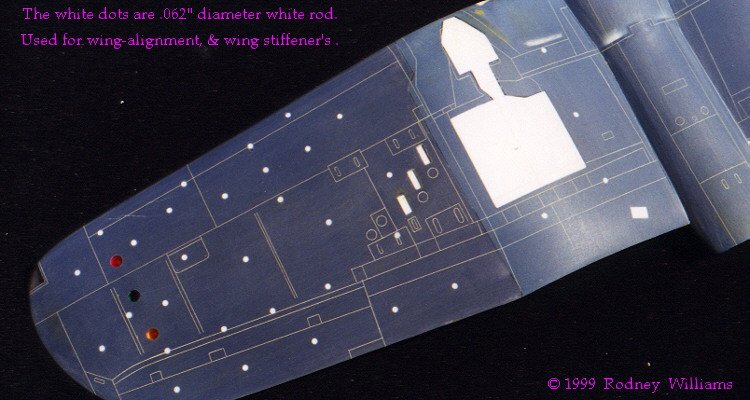
| I found a neat way to scribe-in panel lines. Just dust on a light coat of
paint, draw on the lines, and start scribing. When you scribe, you can see
how much plastic you are removing. This helps keep all scribe lines @ the
same width and depth. ( Many practice session are in order to become good at
it). All the white round dots on the blue plastic wing's are .060"
diameter
styrene rods. They are inserted to help wing alignment, and wing
stiffeners. ( I think I put too many in this one)
|
|
Tail plane/trim tabs
|
Click on photo
below to see larger photos |
|
The tail plane was a little time
consuming, making the trim tab push rods. I think ( !! ) I made them from .010"/.015" diameter brass rod.
The brass
tube is .020" I.D. This material is made by K & S.
|
|
1/32 & 1/72 models/Canopy
|
Click on photos below to
see larger photos |
 |
 |
|
Here is the 1/32 & 1/72 models, which are ready to be painted. I have
"greatly enlarged" this canopy photo, which becomes somewhat blurry.
I
wanted to show you how the canopy fit's into the canopy tip !!!
Rodney
|
|
 |
 |
 |
|
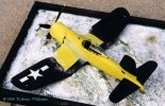
" Building a
1/32 scale F4U-1A conversion to a F2G-1D Super Corsair"
Part 1
|
" Building a
1/32 scale F4U-1A conversion to a F2G-1D Super Corsair"
Part 2
|
" Building a
1/32 scale F4U-1A conversion to a F2G-1D Super Corsair"
Part 4
|
| Prop,
wing air intakes, engine and tail wheel |
Cockpit and engine and engine cowling |
Finishing touches |
|
|