|
What
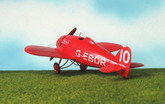
happens when a plane gets engine indigestion? Yes, a 1922
Bristol 72.
And if -as in this case- the plane is a racer, it is all too bad.
Nevertheless in the process a cartoon character may have been created. Or
perhaps a flying keg that would have been the delights of the prohibition
smugglers. Or simply a cute, puny-winged, chubby racer. Ok, ok, may be
“racer” is an overstatement. But it wanted to!
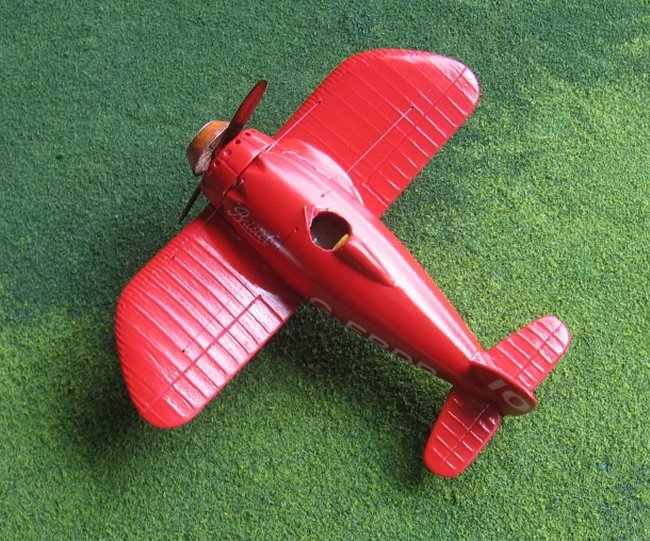
In
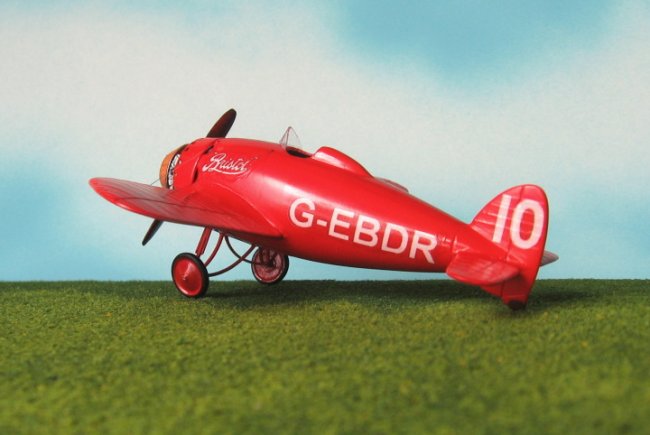
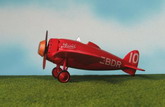
any case, let’s not be so judgmental. It had a monocoque fuselage and
retractable landing gear, it had a Jupiter radial that was advanced and powerful
and was supposed to be efficiently cowled. It was also painted red, which is
always a bonus in the case of racers.
Click on
images below to see larger images
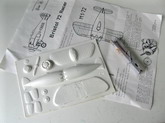
The Classic
Plane 1/72 vac kit seems to be still obtainable, although their
distributors in Germany (Modellbaustudio Rhein Ruhr) may take some time to
deliver it to you (as per their own warning in their site). And when I say
“some time” I mean years. Kidding. Not really. Well, just exaggerating
a bit.
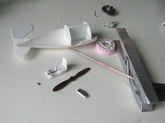
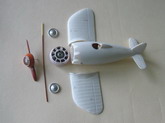
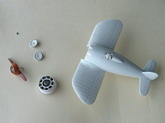
It is
a sorta ok kit, with overstated ribbing, generous thickness styrene, two
halves to make one whole wheel (see image of the sheet), no interior
drawings (or parts), no engine. a thing resembling vaguely a half
propeller and in the instructions a naive method to represent the bicycle
wheel-like spinner structure (photoetched parts here would have been
ideal). It is not big deal though to go and get a decent prop, engine,
some wire for the landing gear legs and pair of wheels, so not really
anything serious to cry about.
And
again, do you think the manufacturers of Messerschmitts by the truckload
will ever kit something like this? Exactly my point, so if this is what we
have, then welcome.
My
sample (a hand-me-down kit by generous Keith) didn’t have decals, so I
ignore if they are provided with the kit. And the marks are white, so
watch out, since home printers won’t do here unless you print on a white
decal paper (not transparent) and with a red surrounding area matching the
paint (see accompanying images).
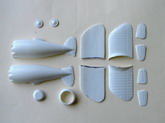
The
parts’ count is not high and the interior can be a simple matter.
Regarding construction methods you could start by crying and shouting, so
you don’t have to deal with that later on. Then separate the parts front
the backing sheet, since it is not easy to build the model if you don’t.
Then sand. And then proceed to sand a bit more. And perhaps later on you
can do some sanding. And last but not least let’s not forget about
sanding.
Be careful not to oversand.
The
fuselage front as molded has a resemblance of the buffers that were
installed between the engine cylinders. You could leave some of that
detail or just bore the thing and do the detail by yourself, which I did.
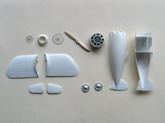
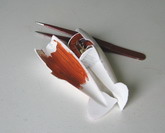
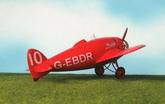
The
spinner was allocated two spoke rims as per original and was painted wood
color, since some of the flights were made with it unpainted. A wood prop
was carved at this point and an engine scrambled from the spares’ bin.
Some
internal fuselage structure was added and a cockpit devised.
Beware that the marks on the fuselage to cut out the
lodging positions for the retractable landing gear leg components are
wrongly depicted. As they are (besides being a bit wobbly) they curve in a
concave way, while they should be straight (looking perpendicular to the
fuselage axis) thus producing -since they are traced over a circular
volume- seemingly slightly convex legs (see image). I made the legs with
“Strutz” brass airfoiled material and the oleos with some wire.
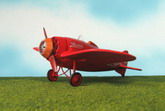
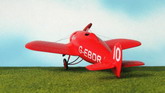
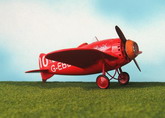
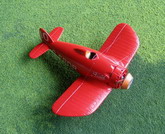
Once
the main parts were put together a strange whale started to emerge. It had all
the appearance of a chubby antique tin toy, and the appeal started to be
obvious.
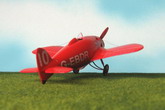
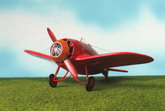
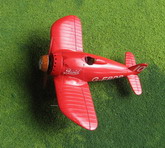
Priming and touch-ups ensued and acrylic paint was applied. Decals, rigging and
a few external details fished the job, or so I thought. After I photographed the
model for this article I realized that the Pitot and headrest were not in place,
so one last photo was taken showing those. Moral: if you are racing, do not
forget your Pitot.
Gabriel Stern
Click on
images below to see larger images
|